Setup Guide
⚠️ Use at your own risk. Reattach allows remote command execution on your machine. Please understand the security implications before using this software. reattachd includes device-based authentication, but for internet-exposed setups, we recommend adding additional security layers (VPN, Cloudflare Zero Trust, etc.).
Option A: Homebrew (macOS)
brew tap kumabook/reattach
brew install reattachd
Option B: Install script (macOS / Linux)
curl -fsSL https://raw.githubusercontent.com/kumabook/Reattach/main/install.sh | shHomebrew services (macOS, easiest)
If you installed via Homebrew, you can start reattachd as a background service with one command:
brew services start reattachdDefault mode: binds to 127.0.0.1:8787 over plain HTTP. To enable Tailscale auto-configuration via brew services, see Tailscale + brew services below.
macOS (launchd)
# Create log directory
mkdir -p ~/Library/Logs/Reattach

# Create plist file
cat > ~/Library/LaunchAgents/com.kumabook.reattachd.plist << 'EOF'
<?xml version="1.0" encoding="UTF-8"?>
<!DOCTYPE plist PUBLIC "-//Apple//DTD PLIST 1.0//EN" "http://www.apple.com/DTDs/PropertyList-1.0.dtd">
<plist version="1.0">
<dict>
    <key>Label</key>
    <string>com.kumabook.reattachd</string>
    <key>ProgramArguments</key>
    <array>
        <string>/usr/local/bin/reattachd</string>
    </array>
    <key>RunAtLoad</key>
    <true/>
    <key>KeepAlive</key>
    <true/>
    <key>StandardOutPath</key>
    <string>~/Library/Logs/Reattach/reattachd.log</string>
    <key>StandardErrorPath</key>
    <string>~/Library/Logs/Reattach/reattachd.error.log</string>
    <key>EnvironmentVariables</key>
    <dict>
        <key>REATTACHD_PORT</key>
        <string>8787</string>
        <!-- Uncomment to allow local network access (default: 127.0.0.1) -->
        <!-- <key>REATTACHD_BIND_ADDR</key> -->
        <!-- <string>0.0.0.0</string> -->
        <key>PATH</key>
        <string>/opt/homebrew/bin:/usr/local/bin:/usr/bin:/bin</string>
    </dict>
</dict>
</plist>
EOF

# Load and start
launchctl load ~/Library/LaunchAgents/com.kumabook.reattachd.plist
Linux (systemd)
# Create service file
sudo tee /etc/systemd/system/reattachd.service << 'EOF'
[Unit]
Description=Reattach Daemon
After=network.target

[Service]
Type=simple
ExecStart=/usr/local/bin/reattachd
Restart=always
Environment=REATTACHD_PORT=8787
# Uncomment to allow local network access (default: 127.0.0.1)
# Environment=REATTACHD_BIND_ADDR=0.0.0.0

[Install]
WantedBy=multi-user.target
EOF

# Enable and start
sudo systemctl daemon-reload
sudo systemctl enable reattachd
sudo systemctl start reattachdChoose how your iOS device will connect to reattachd:
Local Network
Direct connection
Use your machine's local IP address directly. No additional setup required.
URL: http://192.168.x.x:8787VPN
If you have a VPN setup, use the machine's IP address on the VPN network.
URL: http://<vpn-ip>:8787Remote Access
Tailscale (Recommended)
The simplest setup for secure remote access — a single command handles TLS certificates, QR code generation, and server startup:
sudo reattachd --tailscaleThis auto-detects your Tailscale hostname and IP, generates TLS certs via tailscale cert, binds to the Tailscale IPv4 address on port 8787, and shows a QR code if no devices are registered.
sudo is required on Linux because tailscale cert needs root access to generate certificates.
Tailscale + brew services
brew services does not pass through CLI arguments, so the default Homebrew service runs without --tailscale. To enable Tailscale auto-configuration via brew services, edit the brew-managed plist to inject the flag:
brew services stop reattachd

# Edit ~/Library/LaunchAgents/homebrew.mxcl.reattachd.plist
# Add "--tailscale" to ProgramArguments:
#   <key>ProgramArguments</key>
#   <array>
#       <string>/opt/homebrew/bin/reattachd</string>
#       <string>--tailscale</string>
#   </array>

brew services start reattachd
Caveat: brew services restart and brew upgrade reattachd regenerate the plist from the Formula, wiping out manual edits. You'll need to re-apply the change after any upgrade. If you upgrade frequently, consider running reattachd directly via sudo reattachd --tailscale and managing the daemon with your own launchd plist.
Cloudflare Tunnel + Zero Trust Access (Recommended)
Remote access without exposing ports. Use Cloudflare Zero Trust Access to add an authentication layer.
URL: https://your-domain.example.comSee the detailed Cloudflare setup guide →
Public IP / Domain
Expose directly via public IP or domain.
URL: http://your-public-ip:8787
URL: https://your-domain.com:8787
⚠️ Security Warning: This method exposes your machine directly to the internet. Your machine becomes a target for attacks, and if device tokens are compromised, attackers can execute commands on your system. Use HTTPS and consider additional security measures (firewall rules, fail2ban, etc.).
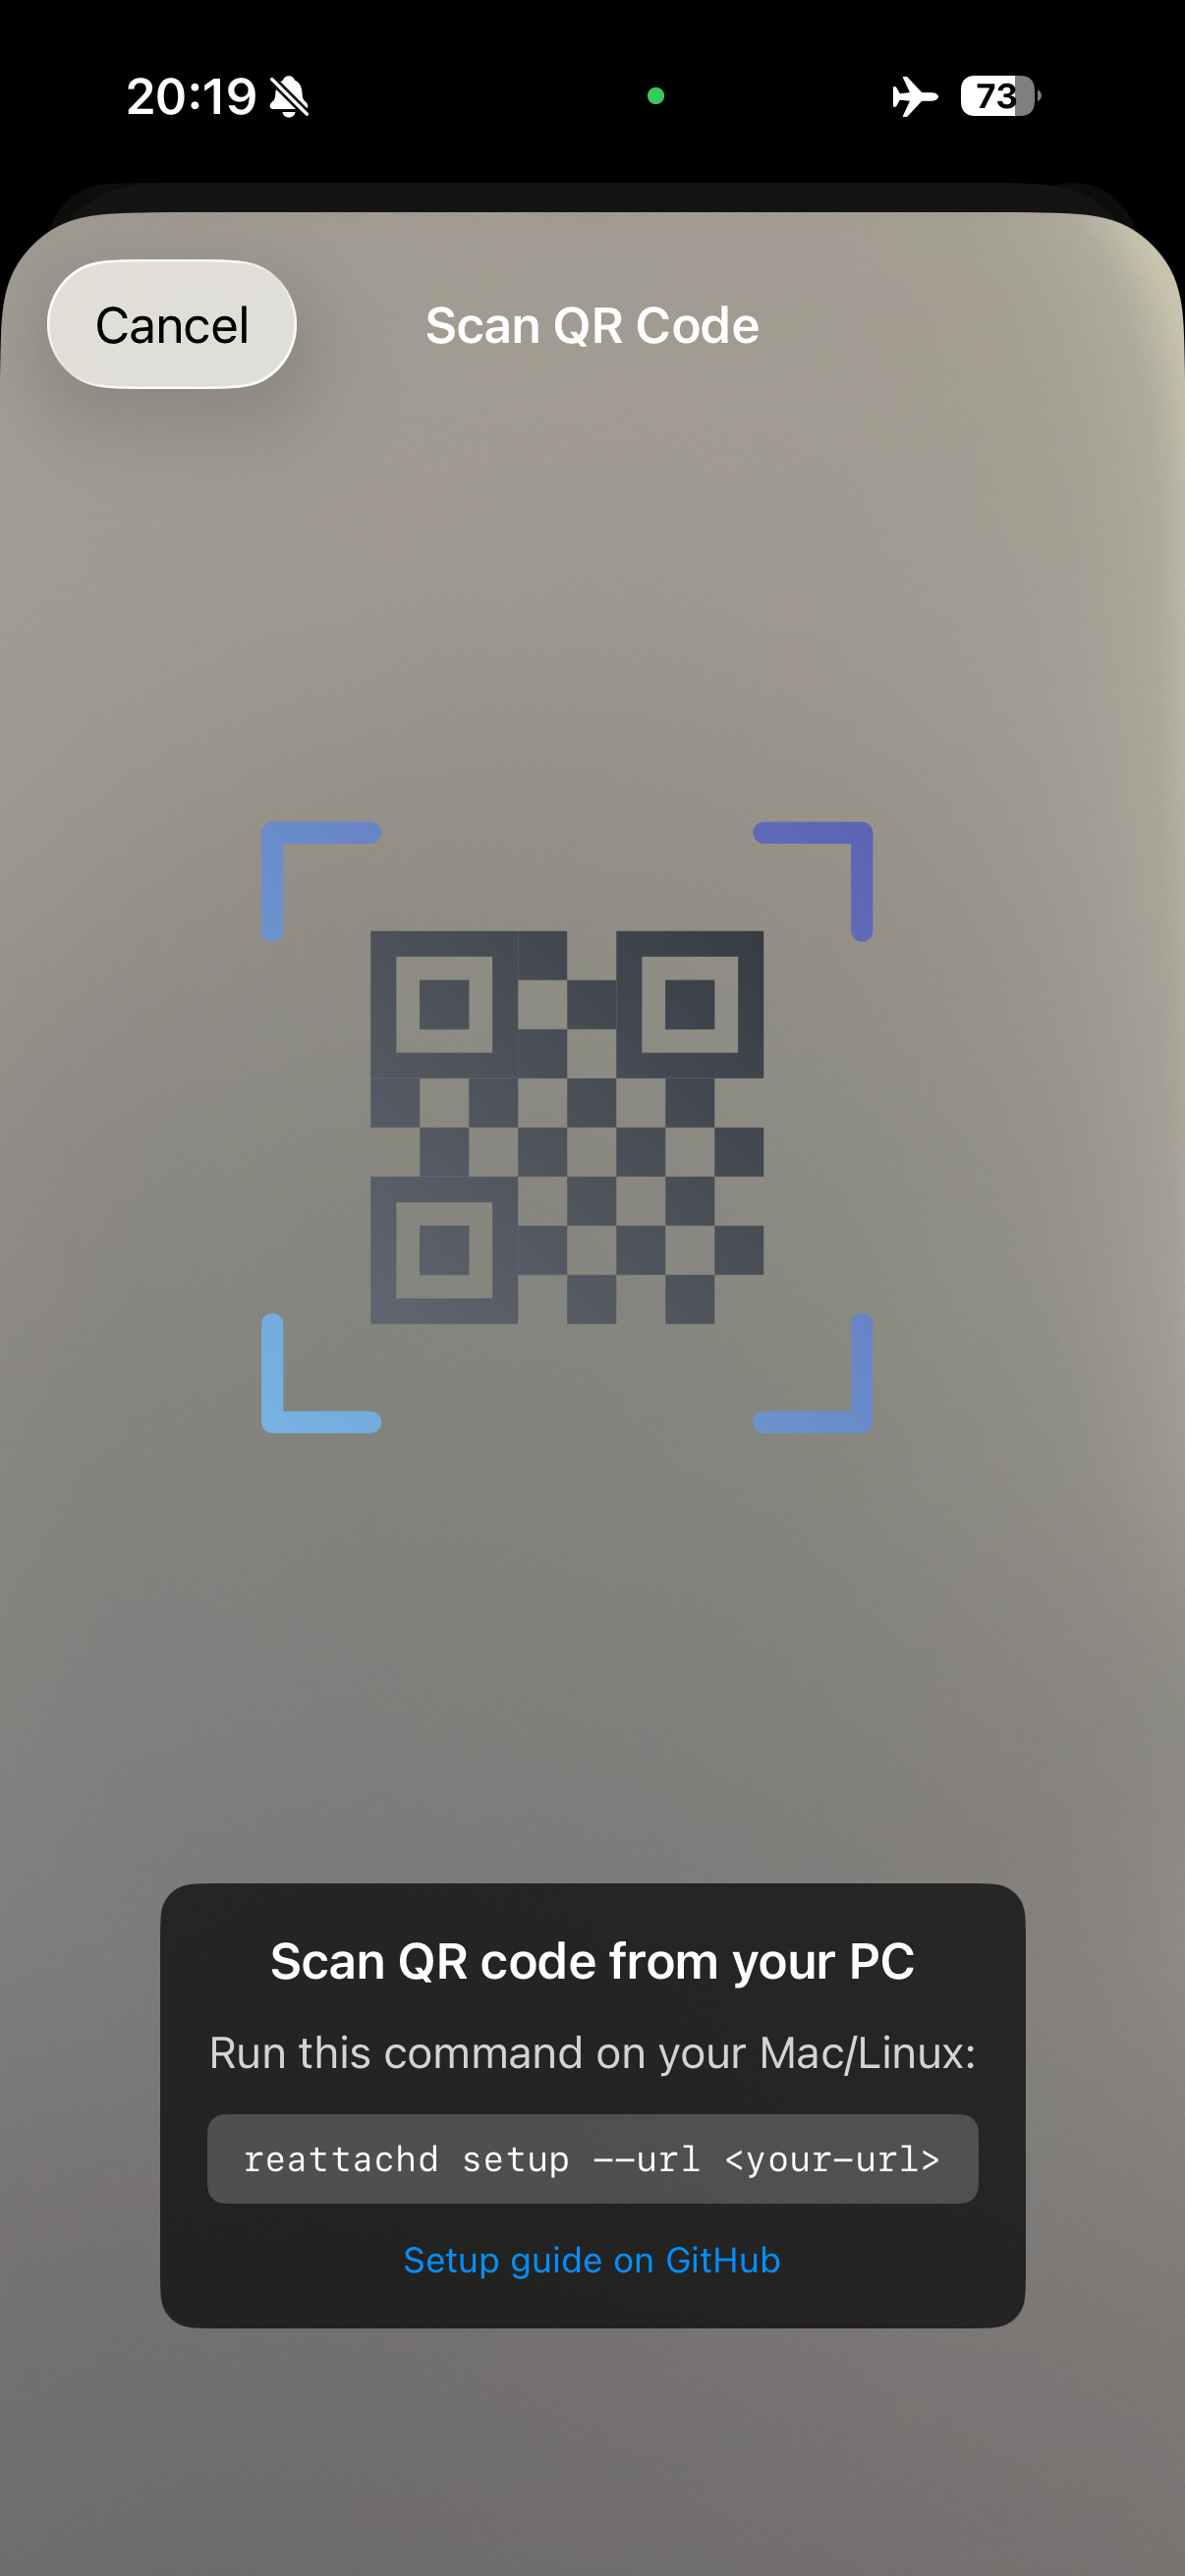
Generate a QR code to register your iOS device:
reattachd setup --url <your-url>Scan the QR code with the Reattach iOS app to complete registration.
Recommended: install hooks for Claude Code and Codex automatically:
reattachd hooks installManual setup:
Claude Code (~/.claude/settings.json) should include both hooks.Stop (matcher: "") and hooks.Notification (matcher: "permission_prompt") with command reattachd notify.
Codex (~/.codex/config.toml) should include this top-level setting (not inside another table such as [sandbox_workspace_write]):
notify = ["reattachd", "notify"]Restart Codex after editing config, then trigger one turn to verify push notifications arrive on iOS.
Need help? Check out the GitHub repository for more details and troubleshooting.